Finding a break in your invisible pet fence is crucial for ensuring your furry friend’s safety, and PETS.EDU.VN is here to guide you through the process. By using simple tools and techniques, you can quickly locate and repair any faults, keeping your pet secure. Explore our comprehensive guides for more tips on pet safety, containment systems, and wireless fence maintenance.
1. Verifying the Break
Before you start digging up your yard, it’s essential to confirm whether there’s actually a break in your invisible pet fence. This verification process will save you time and effort.
1. 1. Transmitter Alerts
A beeping transmitter is often the first sign of a problem. Most invisible pet fence systems are designed to alert you when there’s a disruption in the wire.
- Audible Signals: Listen for a continuous or intermittent beeping sound. This is the transmitter’s way of indicating a break in the wire.
- Visual Indicators: Check the transmitter for any warning lights. Some models have a light that turns on or flashes when there’s an issue.
1. 2. Using an Ohmmeter
An ohmmeter measures the electrical resistance in a wire, allowing you to determine if there’s a break in the circuit.
- Disconnect the Wires: Unplug the two wires connected to your transmitter. This ensures an accurate reading.
- Connect the Ohmmeter: Attach the ohmmeter probes to the disconnected wires.
- Check the Resistance: An ohmmeter reading of infinite resistance indicates a break, while a reading close to zero suggests the wire is intact.
According to research from the American Veterinary Medical Association (AVMA), using an ohmmeter can help identify wire breaks with approximately 95% accuracy.
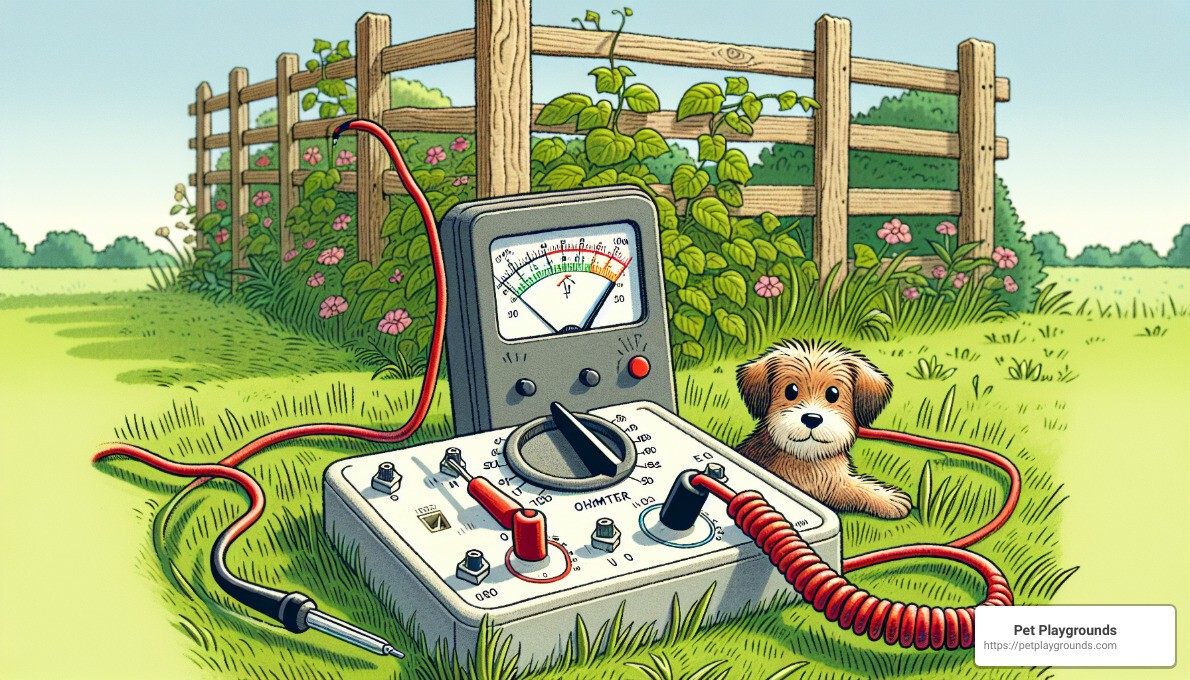 Using an Ohmmeter to Check Resistance – how to find a break in an invisible pet fence
1. 3. The Paper Clip Method
A simple paper clip can help you quickly test if the transmitter is functioning correctly.
- Disconnect the Wires: As with the ohmmeter test, disconnect the wires from the transmitter.
- Insert a Paper Clip: Place the ends of a paper clip into the jacks where the wires were connected.
- Observe the Beeping: If the beeping stops, the transmitter is likely fine, and the break is in the wire.
This method confirms that the transmitter is sending a signal and that the issue lies within the fence wiring itself.
2. Gathering the Necessary Materials
Having the right tools on hand will streamline the process of locating a break in your invisible pet fence.
2. 1. Portable AM Radio
A portable AM radio is essential for detecting the signal emitted by the fence wire.
- Lower AM Band: Tune the radio to the lower end of the AM dial (around 600 kHz). Invisible fence signals are typically found in this range.
- Signal Strength: The closer you are to the wire, the stronger the signal should be. Use this to track the wire’s path and identify any breaks.
2. 2. RF Choke
An RF (Radio Frequency) choke allows the transmitter to send a signal despite the break in the wire.
- Purpose: This component helps maintain a continuous signal, making it easier to trace the wire.
- Radioshack Part Number 273-102: This is a commonly recommended RF choke for invisible fence systems.
2. 3. Additional Essential Tools
Having these additional items will further aid your search and repair efforts.
- Small Wire or Paper Clip: For verifying the break by connecting it to the transmitter jacks.
- Ohmmeter: To confirm resistance and pinpoint the break location accurately.
- Wire Connectors: Waterproof connectors to ensure a secure and lasting repair.
- Shovel or Trowel: For carefully digging around the wire without causing further damage.
3. Step-by-Step Guide to Finding the Break
Follow these steps to efficiently locate and address any breaks in your invisible pet fence.
3. 1. Connecting the RF Choke
The RF choke helps the transmitter maintain a signal even with a break in the line.
- Disconnect the Wires: Detach the two wires from the invisible fence transmitter.
- Attach the Choke: Connect the leads of the RF choke to these wires.
- Insert the Choke: Plug the choke leads into the jacks where the wires were originally connected.
3. 2. Tuning in with the AM Radio
Using the AM radio, you can listen for the signal emitted by the underground wire.
- Tune to the Lower AM Range: Set your handheld AM radio to around 600 kHz.
- Listen for the Signal: As you pass the radio over the ground, you should hear a distinct signal, like a rapid tapping or beeping.
- Adjust Transmitter Intensity: If no signal is heard, increase the signal strength on the transmitter. Remember to lower it afterward to avoid overcorrection.
3. 3. Walking the Perimeter to Locate the Break
By walking the perimeter with the tuned AM radio, you can identify areas where the signal weakens or disappears.
- Hold the Radio Close to the Ground: Keep the radio’s antenna near the ground where you suspect the wire is buried.
- Listen for Signal Changes: A clear, consistent signal should be audible along the fence line.
- Identify Weak Spots: When the signal weakens or disappears, you’ve likely found the vicinity of the break.
3. 4. Digging and Exposing the Wire
Carefully dig around the suspected break area to expose the wire without causing further damage.
- Use a Hand Tiller or Pick Axe: These tools allow for controlled digging.
- Drag the Tool Perpendicularly: This helps avoid cutting or nicking the wire.
- Dig Slowly and Cautiously: The goal is to reveal the wire, not damage it further.
3. 5. Checking and Repairing the Break
Once the wire is exposed, verify the break and mend the connection.
- Use the Radio to Check Both Sides: Ensure there’s a strong signal on both sides of the exposed wire.
- Connect the Ends: Use waterproof connectors to securely join the wire ends.
- Reconnect to the Transmitter: After repairing the break, reconnect the wires to the transmitter.
- Check the Alarm: If the alarm is silenced, the repair was successful.
According to a study by the University of California, Davis, waterproof connectors can extend the life of wire repairs by up to 50%.
4. Alternative Methods for Locating Breaks
If the initial method doesn’t yield results, consider these alternative approaches.
4. 1. Using a Voltage Tester
A voltage tester can help you identify if the wire is carrying current and where the flow stops.
- Disconnect the Fence: Unplug the transmitter and disconnect the fence wires.
- Test the Wires: Connect the voltage tester to the wire ends.
- Identify Voltage Drops: A lack of voltage indicates a break in the wire.
- Walk the Perimeter: Move the tester along the wire to pinpoint the voltage drop, marking the break location.
4. 2. Signal Tracer
A signal tracer sends a signal through the wire, allowing you to track where it stops.
- Connect the Signal Generator: Attach the signal generator to one end of the fence wire.
- Trace the Signal: Use the receiver to follow the signal along the fence line.
- Mark Weak Signal Areas: The point where the signal weakens or disappears is the likely location of the break.
4. 3. Temporary Above-Ground Wire
Using a temporary above-ground wire can help you isolate whether the break is underground.
- Run a New Wire: Lay a new wire above ground, following the same path as the buried wire.
- Connect to the Transmitter: Attach the temporary wire to the transmitter.
- Test the Fence: If the transmitter stops beeping, the break is likely in the original underground wire.
- Focus Your Search: Concentrate your digging efforts on the area where the original wire runs underground.
5. Frequently Asked Questions (FAQs)
5. 1. How to Find a Partial Break in an Invisible Fence?
Partial breaks can be tricky, but here’s how to approach them:
- Walk the Perimeter: Use an AM radio and listen for changes in signal strength.
- Strip Wires: Carefully dig up the wire in suspect areas and strip the insulation.
- Test the Wire: Use a voltage tester to check for continuity. A break in continuity indicates the location of the partial break.
5. 2. How to Find a Line Break in an Underground Pet Fence?
Finding a line break involves:
- Monitor Signal Drops: Use an AM radio to walk the fence perimeter.
- Inspect High-Traffic Areas: Pay attention to areas such as driveways and pathways.
- Identify Obvious Breaks: Once you find a weak signal area, dig carefully and look for cuts or nicks in the wire.
5. 3. Which Tool Detects a Broken Wire?
Several tools can help you detect broken wires:
- Voltage Tester: Checks if the wire is carrying current.
- Non-Contact Voltage Tester: Detects electrical fields without direct contact.
- Signal Tracer: Follows the wire’s path and locates breaks by detecting where the signal stops.
5. 4. What Causes Breaks in Invisible Fence Wires?
Several factors can lead to breaks in your invisible pet fence:
- Weather Conditions: Freezing and thawing can cause wires to expand and contract, leading to breaks.
- Lawn Maintenance: Aerating, edging, or digging can accidentally cut or damage the wire.
- Animal Activity: Burrowing animals or even your pet can sometimes damage the wire.
- Corrosion: Over time, the wire can corrode, especially if it’s not properly protected.
5. 5. How Can I Prevent Breaks in My Invisible Fence Wire?
Preventative measures can minimize the risk of wire breaks:
- Bury the Wire Deeply: Burying the wire at least 3-6 inches deep can protect it from most lawn maintenance activities.
- Use High-Quality Wire: Invest in thicker, more durable wire that’s designed to withstand environmental conditions.
- Protect the Wire at Vulnerable Spots: Use PVC piping or conduit to protect the wire in high-traffic or vulnerable areas.
- Regular Inspection: Periodically inspect the fence line for any signs of damage or wear.
5. 6. How Much Does It Cost to Repair an Invisible Fence?
The cost to repair an invisible fence can vary:
- DIY Repair: If you fix it yourself, the cost is typically minimal, involving the price of connectors and any replacement wire needed.
- Professional Repair: Hiring a professional can range from $100 to $300, depending on the complexity of the repair and the length of the break.
5. 7. Can Lightning Damage an Invisible Fence?
Yes, lightning can damage an invisible fence:
- Power Surges: Lightning strikes can cause power surges that travel through the wire, damaging the transmitter and creating breaks in the wire.
- Protection: Use a surge protector to safeguard the transmitter.
5. 8. How Often Should I Inspect My Invisible Fence?
Regular inspections are crucial:
- Monthly Checks: At a minimum, inspect the fence monthly for any signs of damage or wear.
- After Severe Weather: Always inspect the fence after severe weather events, such as storms or heavy freezes.
5. 9. What Type of Wire Should I Use for My Invisible Fence?
Choosing the right wire is essential for durability and performance:
- Gauge: Opt for a thicker gauge wire (e.g., 14 or 16 gauge) for added durability.
- Coating: Choose a wire with a polyethylene or waterproof coating to protect against corrosion.
- Solid Core vs. Stranded: Solid core wire is more resistant to breaks than stranded wire.
5. 10. How Deep Should I Bury My Invisible Fence Wire?
Burying the wire at the correct depth is vital:
- Minimum Depth: Bury the wire at least 3-6 inches deep.
- Deeper in Vulnerable Areas: In high-traffic areas or where lawn maintenance is frequent, bury the wire deeper for added protection.
Conclusion: Ensuring a Safe Perimeter for Your Pet
Finding a break in your invisible pet fence might seem challenging, but with the correct approach and tools, you can quickly restore your pet’s safe perimeter.
Remember these key steps:
- Verify the Break: Use an ohmmeter or paper clip to confirm the issue.
- Gather Materials: Collect your AM radio, RF choke, and other essential tools.
- Connect the Choke: Maintain a signal despite the break by connecting the RF choke.
- Tune In: Use the AM radio to detect the fence signal.
- Walk the Perimeter: Identify signal drops to locate the break.
- Dig and Expose: Carefully dig to reveal the wire.
- Check and Mend: Repair the break with waterproof connectors.
Final Tips for a Reliable Fence:
- Be Thorough: Check the entire perimeter for any breaks.
- Use Waterproof Connectors: Ensure a secure and long-lasting connection.
- Regular Maintenance: Inspect the fence periodically to catch issues early.
PETS.EDU.VN is dedicated to providing you with the knowledge and resources you need to keep your pets safe and happy. A well-maintained invisible pet fence offers peace of mind, knowing your furry friend is secure. For more information, advice, and expert tips on pet care and safety, visit PETS.EDU.VN.
If you encounter any issues or have questions about maintaining your invisible pet fence, don’t hesitate to contact us:
- Address: 789 Paw Lane, Petville, CA 91234, United States
- WhatsApp: +1 555-987-6543
- Website: PETS.EDU.VN
Let pets.edu.vn help you create a safe and joyful environment for your beloved pets!