Creating magical memories for your children is one of the joys of parenthood. And what’s more enchanting than transforming your little one into the boy who never grows up? This year, skip the store-bought outfits and dive into a fun DIY project with our guide to crafting a Peter Pan costume right at home. Using simple materials and a touch of creativity, you can conjure up a unique and adorable Peter Pan ensemble that’s perfect for Halloween, dress-up play, or any whimsical adventure.
Let’s embark on this creative journey and learn how to make each piece of this classic costume, starting with the iconic green tunic and trousers of Peter Pan.
The best part about this DIY Peter Pan costume? You might already have most of the supplies at home! For this project, the only purchase made was a pair of adorable moccasin-style shoes, which were versatile enough to be worn beyond just the costume. Using materials already on hand not only saves money but also makes the crafting process more rewarding and environmentally friendly. It’s a fantastic feeling when you can repurpose items and create something wonderful.
Here’s a breakdown of how to assemble each element of this charming outfit:
For inspiration, we looked to this helpful tutorial and Disney’s classic Peter Pan book to capture the essence of the character.
To ensure the right fit for the shirt and pants, we used a pair of pajamas as a sizing guide. This technique worked particularly well for the pants, though they ended up a bit baggier than initially envisioned. However, the relaxed fit contributed to the overall comfort and ease of wear, perfect for an active Peter Pan. To create the pattern, turn the pajama pants inside out and lay them on folded knit fabric. This method, similar to the technique demonstrated here, simplifies the process by allowing you to cut two pattern pieces instead of four. Even for someone new to sewing pants, the process is surprisingly straightforward. After cutting, sew the inseams, then the crotch, and finally hem the legs and waist, remembering to leave an opening for the elastic waistband as shown in this skirt tutorial. Since this is a costume and knit fabric doesn’t fray easily, there’s no need to worry about perfectly finished seams – speed and comfort are key! These pants were sewn in just an afternoon, proving how quickly this costume can come together.
While the shirt also fit well, using a slightly larger template shirt might be beneficial for easier dressing and removal, especially for younger children. The sleeve construction, inspired by this creative post, involves sewing sleeves onto the main body of the shirt, rather than creating a shirt from a single piece of fabric as seen in some simpler tutorials. Although the sleeves might look a little unusual off-body, they drape perfectly when worn, capturing the characteristic Peter Pan silhouette.
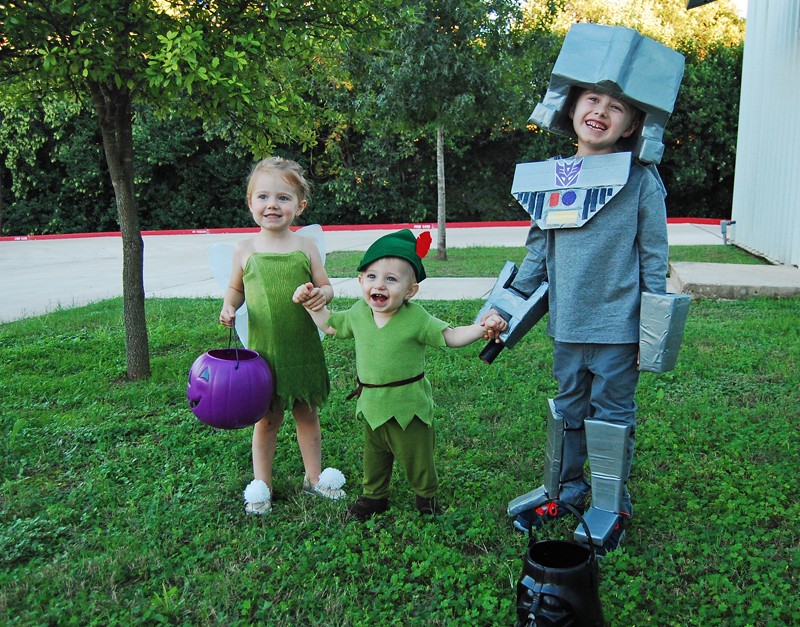
The shirt was crafted from the same green fleece used previously for a Yoda costume, showcasing the versatility of fabric remnants. The knit fabric for the pants was leftover from another project, specifically the underlayer of a Tinkerbell dress. Elastic from a craft stash completed the waistband, highlighting how resourceful you can be when making your own costumes.
Let’s zoom in on the details of the hat and feather. For the hat, measure your child’s head and refer to this tutorial for shaping guidance. As you can see, the feather is made from red felt, cut into a feather shape and secured to a skewer with hot glue. A red marker camouflages the skewer, making it blend seamlessly with the feather. While the glue might appear prominent in a close-up photo, it’s much less noticeable in person.
A small slit cut under the hat’s brim allows the feather to slide in, and glue provides extra stability, securing the feather to the hat. To keep the brim upright, stitching around the edge was necessary, as the original tutorial’s method resulted in a floppy brim. Comfort was also considered; since the hat stayed on well, there was no need for a chin strap, ensuring fuss-free wear for your little adventurer.
As mentioned, the moccasins were the only store-bought item. These adorable shoes, found at Target, perfectly complete the Peter Pan costume. Although a larger size would have been ideal for extended wear, they added the perfect touch to the outfit and will be enjoyed as long as they fit.
Creating this Peter Pan costume was a delightful experience, and the fact that it fit perfectly on the first try was a bonus! Seeing the costume come to life and how adorable it looked alongside a Tinkerbell costume was truly rewarding. While some onlookers playfully mistook the costume for Robin Hood, this just highlights the versatility of the design – with minor tweaks, it could easily serve as a Robin Hood outfit too! As a last-minute addition, a brown ribbon from a craft stash served as a simple belt, tied around the waist to complete the look. Although a toy knife was initially planned, time constraints led to it being forgotten. Instead, a light-up toy sword, a gift from a hospital visit, became a fun and safe accessory.
Up next in our costume series is Tinkerbell! If you have any questions about making this DIY Peter Pan costume, please don’t hesitate to ask in the comments below. And if you’ve created your own version, we’d love to see it! Share your photos or links in the comments – let’s inspire each other with our homemade magic!