Is your little one dreaming of adventures in Neverland? If you’re planning a Peter Pan costume, whether for Halloween, a themed party, or just playful dress-up, the iconic Peter Pan Hat is absolutely essential. While the whole costume brings the character to life, the hat is instantly recognizable and surprisingly simple to create at home. Forget store-bought imitations – with just a few basic craft supplies and our easy-to-follow tutorial, you can craft a charming Peter Pan hat that will make any child feel ready to fly!
This guide breaks down how to make a Peter Pan hat using felt, focusing on simplicity and fun. We’ll also touch briefly on the shirt and pants to complete the full Peter Pan look, ensuring your DIY costume is a soaring success. Let’s dive into crafting your very own piece of Neverland!
Crafting Your Peter Pan Hat: A Step-by-Step Tutorial
The hat is arguably the most distinctive part of Peter Pan’s outfit. Our tutorial makes it easy, even if you’re new to crafting. You’ll need just a few materials to get started:
- Green Craft Felt: Two sheets will provide enough material for the hat itself.
- Red Craft Felt: One sheet for the iconic feather.
- Thin Wire: For giving the feather shape and stability.
- Hot Glue Gun: For quick and easy assembly.
- Scissors: For cutting felt and wire.
- Measuring Tape or Ruler: To ensure the hat fits perfectly.
- Pencil or Fabric Marker: For tracing patterns.
Let’s get crafting!
Step 1: Creating Your Hat Pattern
The first step is to create a pattern that fits comfortably. Measure the circumference of the wearer’s head, from the center of the forehead to the mid-back. Add approximately 1.5 inches to this measurement for seam allowance and comfortable wear.
On a piece of paper, draw a straight line equal to this measurement. This line will form the bottom edge of your hat pattern. Freehand draw the rest of the Peter Pan hat shape, starting from this line. Imagine a slightly curved, pointed shape that resembles a simplified Robin Hood hat. Don’t worry about perfection; Peter Pan’s style is all about playful charm!
Step 2: Cutting the Hat Pieces
Pin your paper pattern onto two layers of green felt. Carefully cut out the hat shape, ensuring you cut through both layers of felt at once. This will give you two identical pieces for your hat.
Step 3: Sewing the Hat Together
Pin the two felt hat pieces together along the side edges, right sides facing out. Sew along the pinned edge with a ½ inch seam allowance, creating the basic cone shape of the hat. A simple straight stitch will work perfectly.
Step 4: Shaping the Brim and Point
Turn the hat right side out. Fold up the bottom edge of the hat to create the brim. A 2 to 2.5 inch brim fold works well for most sizes. Use your finger to gently push out the top point of the hat, giving it that characteristic Peter Pan peak.
Step 5: Crafting the Feather
Now for the iconic red feather! Draw a feather shape onto the red felt. A simple elongated oval with a pointed tip works well. Cut out one felt feather. To give it a more realistic look, cut small notches along both edges of the felt feather.
Step 6: Adding Wire to the Feather
Cut a length of thin wire slightly shorter than the feather. Using a hot glue gun, carefully glue the wire to the center back of the felt feather. This wire will allow you to shape and position the feather nicely on the hat.
Step 7: Attaching the Feather to the Hat
Using the hot glue gun again, attach the base of the wired feather to the side of the Peter Pan hat. Position it jauntily for that playful Peter Pan flair! For extra stability and to keep the brim folded as desired, you can add a few small dots of hot glue to secure the brim to the side of the hat in a few places.
Step 8: Your Peter Pan Hat is Complete!
And there you have it – a charming DIY Peter Pan hat, ready for adventure!
Completing the Peter Pan Look: Shirt and Pants
To truly embody Peter Pan, you’ll need the right shirt and pants. For the shirt, a simple light green knit fabric works wonderfully. You can use an existing shirt as a template to cut out a basic tunic shape. Add a zig-zag hem to the sleeves and bottom edge for that signature Peter Pan style. A small slit at the front neckline, folded down to create a simple collar, completes the look.
For the pants, comfortable green knit pants are ideal. An elastic waistband ensures a good fit for active little adventurers. There are many easy pant tutorials available online if you need guidance.
Final Touches and Neverland Adventures
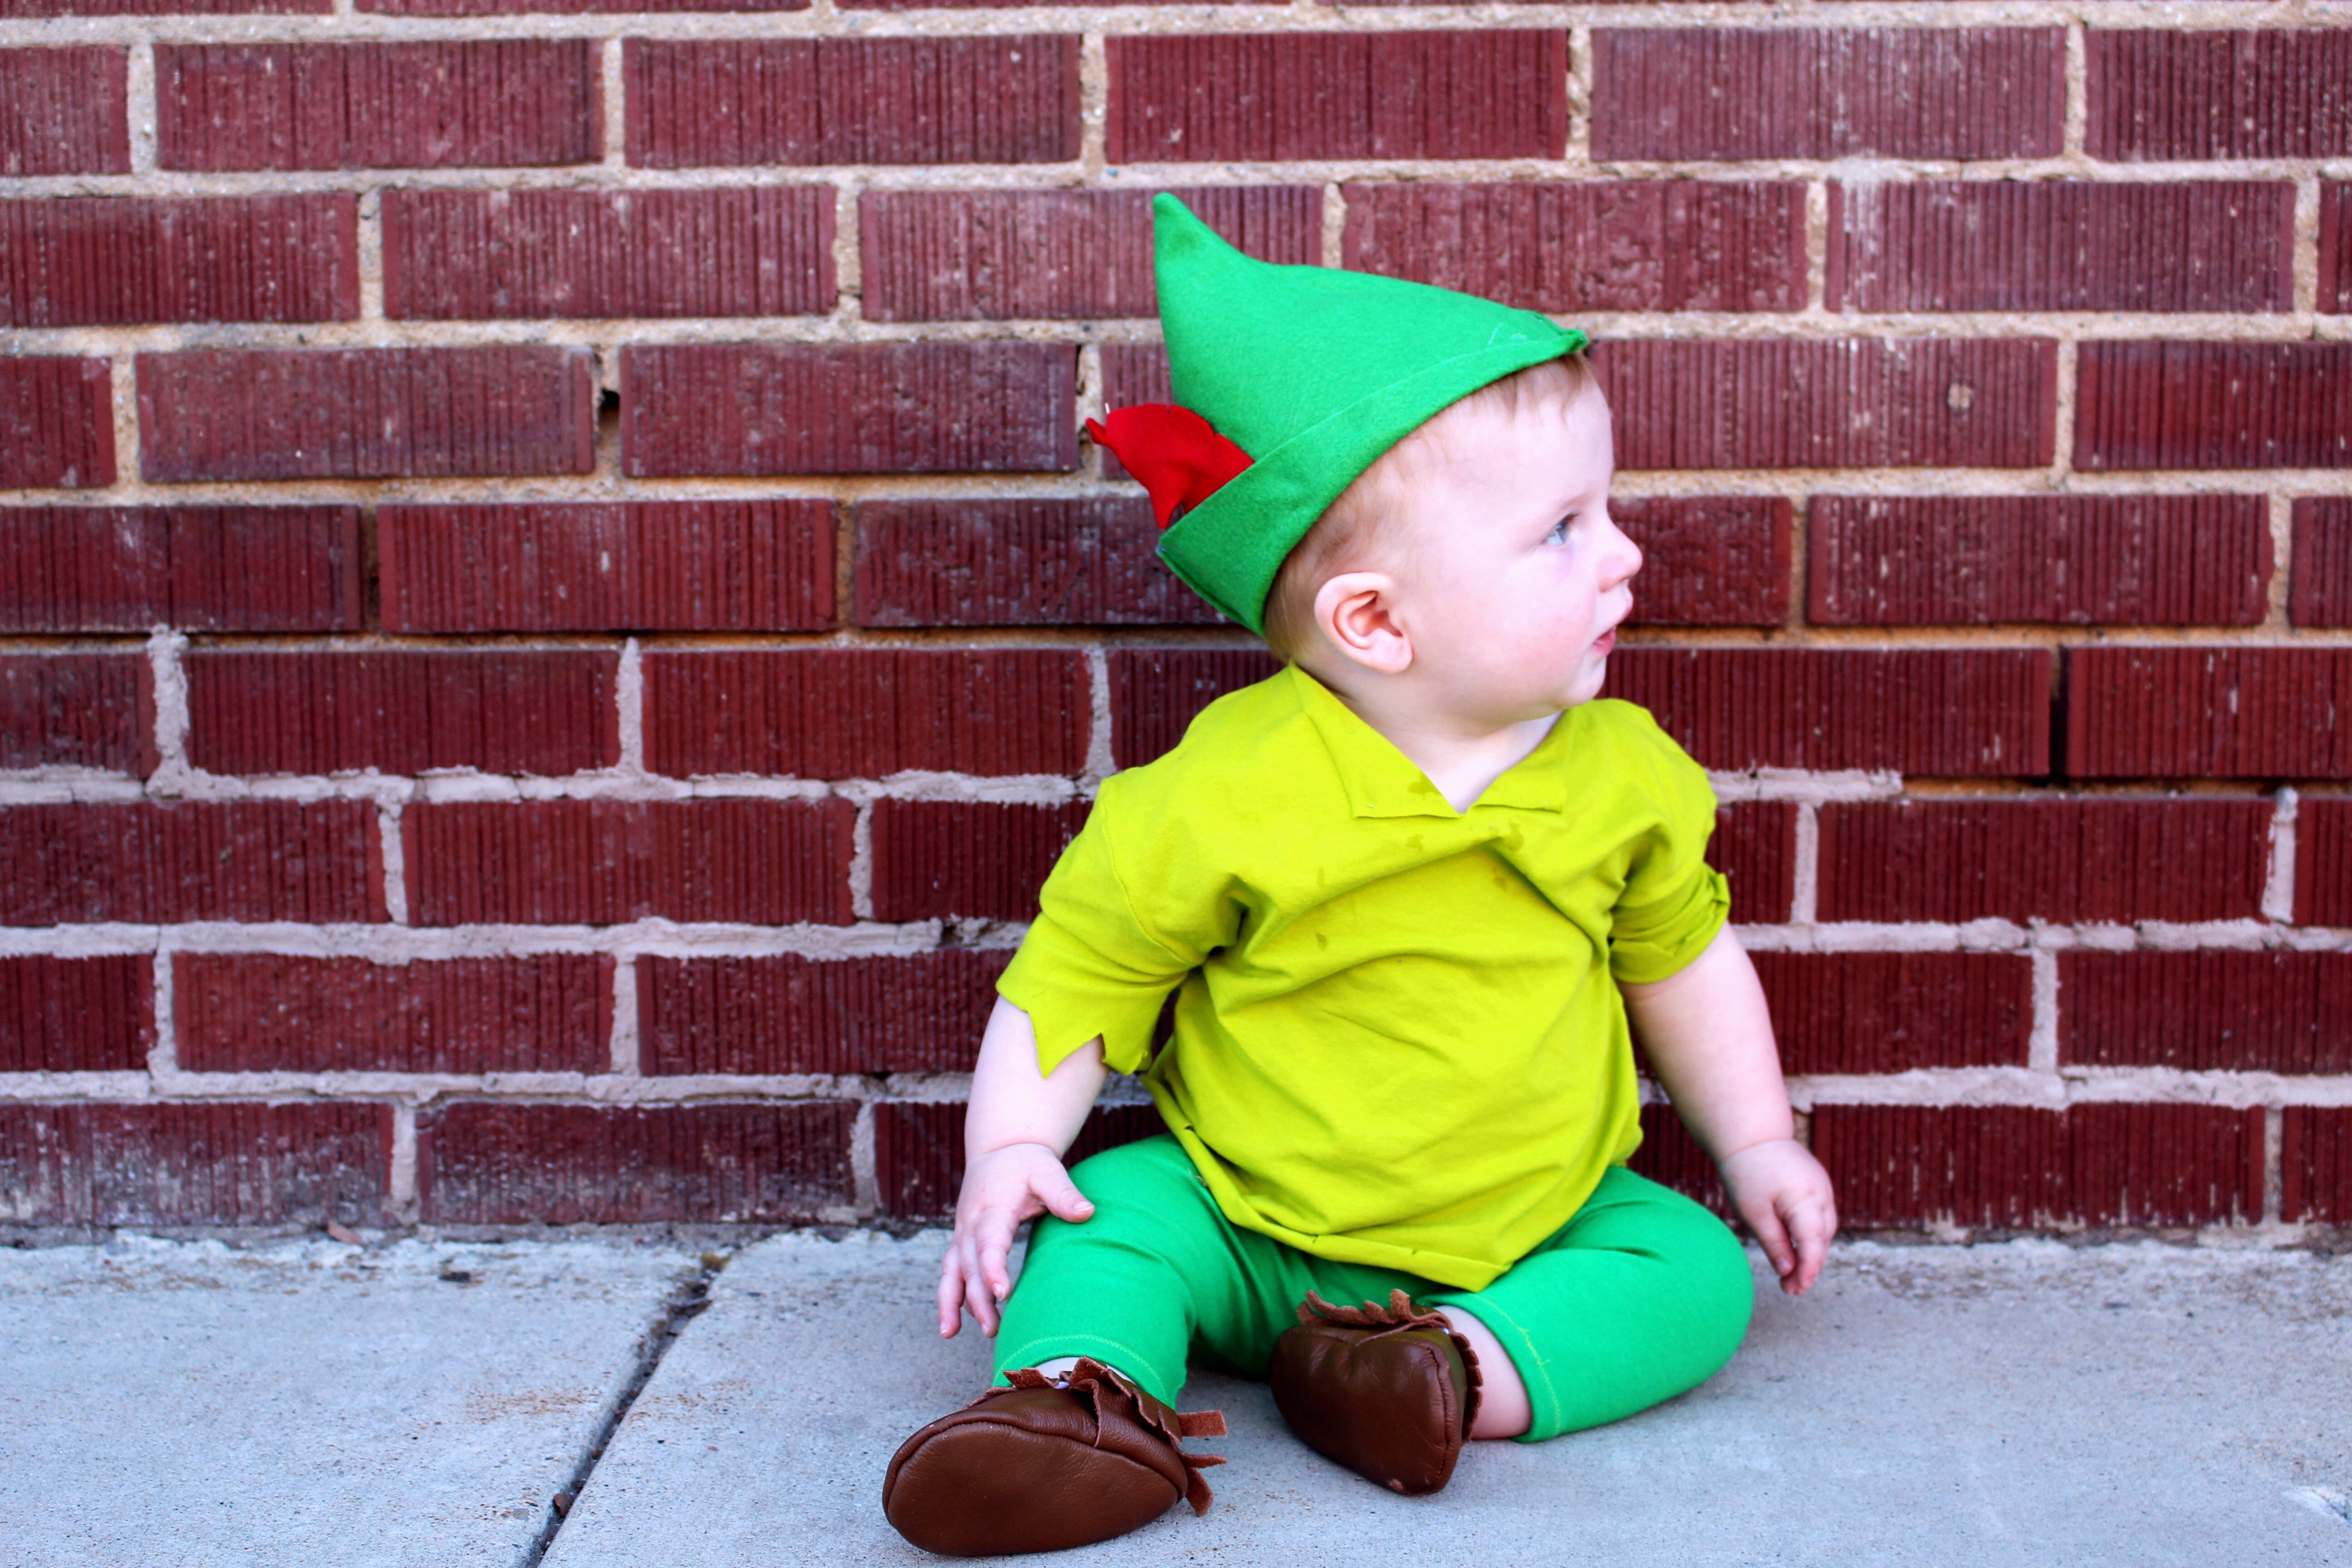
With your DIY Peter Pan hat, shirt, and pants, your little one is ready for Neverland! Consider adding brown moccasins or simple brown shoes to complete the outfit.
Crafting a Peter Pan costume, especially the hat, is a fun and rewarding project. It’s a wonderful way to unleash your creativity and bring a beloved story to life. Get ready for some high-flying adventures!
“Little boys should never be sent to bed. They always wake up a day older” – Peter Pan