Peter Griffin, the lovable yet hilariously inept patriarch from the animated sitcom “Family Guy,” is a character instantly recognizable for his unique look and comedic antics. Voiced by Seth MacFarlane, Peter is the central figure of the Griffin family, residing in the fictional town of Quahog, Rhode Island. Known for his Irish heritage and portrayed as somewhat dim-witted but ultimately good-natured, Peter spends much of his time in front of the TV, often finding himself in outlandish situations. While his intelligence might be questionable, Peter’s actions often reveal a surprising amount of cunning and creative problem-solving amidst his chaotic endeavors. If you’re a fan of “Family Guy” and want to try your hand at cartooning, learning How To Draw Peter Griffin is a fantastic starting point. This easy-to-follow tutorial will guide you through each step, making it simple even for beginners to capture Peter’s iconic appearance.
Step 1
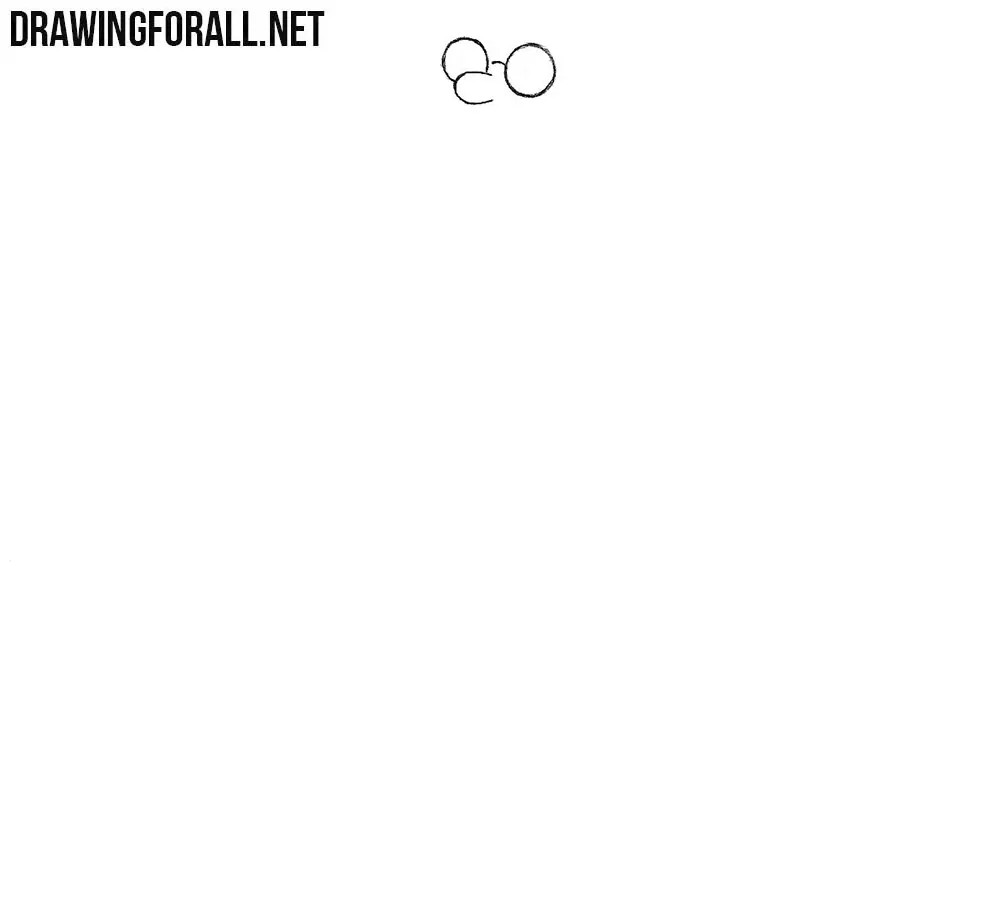
Begin by sketching the basic outlines for Peter’s eyes. These are represented by two connected circles, linked by the bridge of his glasses. Add a rounded shape below for his distinctive nose. This initial step focuses on capturing the foundational shapes of Peter’s face.
Step 2
Now, refine the eye area by drawing the eyelids above the initial circles. Inside the eyes, add small dots for pupils. Above the glasses, sketch a hint of Peter’s hair and a small, rounded ear on the side of his head. These details start to bring Peter’s face to life.
Step 3
Move downwards to draw Peter’s characteristic smiling mouth. Below the mouth, sketch his large, bone-shaped chin. This prominent chin is a key feature in capturing Peter Griffin’s recognizable profile.
Step 4
Continue by outlining the rest of Peter’s face, connecting it smoothly to his neck. Add the top edge of his shirt collar just below the neck line. Focus on creating a smooth, continuous line to define the shape of his head and neck.
Step 5
Extend downwards from the neck to draw the outlines of Peter’s shoulders and shirt sleeves. Follow the example image to get the correct proportions and the relaxed posture of his shoulders.
Step 6
Sketch Peter’s large, cartoonish hands at the ends of his sleeves, including his fingers. Then, draw the bottom edge of his shirt, adding some curved lines to represent folds in the fabric, giving his clothing a more natural look.
Step 7
Enhance the shirt by adding details such as the collar, the front placket (the vertical strip down the front of the shirt), and buttons. Around his waist, draw a belt and belt loops to complete the upper part of his outfit.
Step 8
Proceed to draw the lower part of Peter’s torso and his legs. Sketch his pants, making them wider towards the bottom, typical of Peter’s style in “Family Guy”.
Step 9
Finally, in this last step, draw Peter Griffin’s rounded shoes. These simple, cartoonish shoes complete his signature look from head to toe.
Congratulations, you’ve just learned how to draw Peter Griffin! Peter is indeed one of the most beloved and comical characters from “Family Guy” and across animated television. This tutorial provides a foundation for drawing him, but remember, practice is key. Don’t hesitate to revisit these steps and try drawing Peter Griffin from different angles and in various poses. To further expand your cartooning skills, explore our “Cartoons” category for many more drawing tutorials featuring your favorite animated characters. Keep practicing and have fun creating your own “Family Guy” inspired artwork!