Peter Griffin, the lovable yet clumsy patriarch from the animated sitcom “Family Guy,” is a character known for his hilarious antics and iconic look. If you’re a fan of the show and want to learn how to draw Peter Griffin, you’ve come to the right place! This easy-to-follow tutorial will guide you through each step, making it fun and accessible for artists of all levels. Whether you’re a seasoned illustrator or just starting out, you’ll be able to sketch your own Peter Griffin in no time.
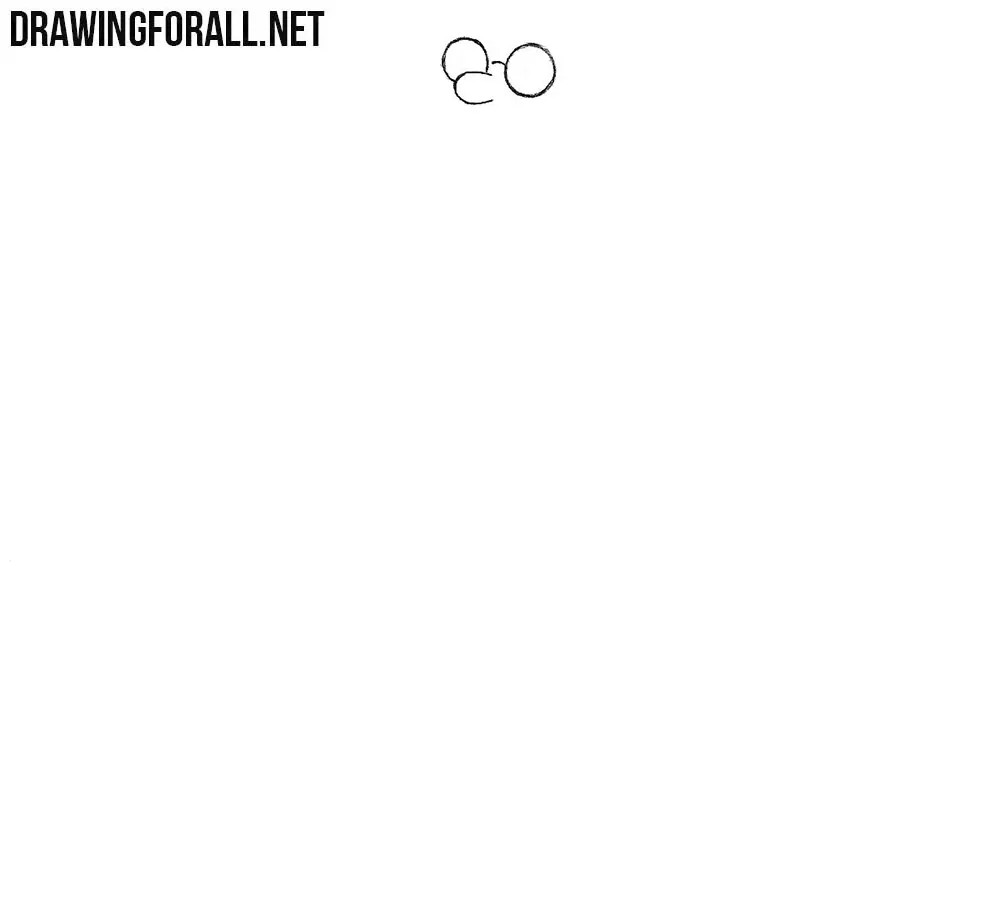
Step 1: Begin with the Eyes, Glasses, and Nose
Let’s start at the top! Begin by drawing two round shapes for Peter’s eyes. Since he wears glasses, connect these circles with a curved line to represent the bridge of his spectacles. Right below the glasses and between the eyes, sketch a rounded shape for his nose. This will form the central part of Peter’s face.
Step 2: Add Eyelids, Pupils, Hair, and an Ear
Now, give Peter some expression! Draw curved lines above each eye to create the eyelids. Inside each eye, place small dots for the pupils. On the top of his head, sketch a small curve for his hair. Don’t forget his ear! Draw a small, rounded ear on the side of his head, positioned near the eye level.
Step 3: Sketch the Smiling Mouth and Distinctive Chin
Peter Griffin is known for his wide grin. Draw a broad, curved line for his smiling mouth, positioned below the nose. Now for a key feature: his large, bone-shaped chin. Sketch a prominent, rounded chin extending down from the mouth. This unique chin is a defining characteristic of Peter’s appearance.
Step 4: Outline the Face and Neck
It’s time to shape Peter’s face. Starting from the forehead area near the hair, draw a large, rounded outline for his face. This line should smoothly flow down and connect to the chin you drew in the previous step. From the bottom of the chin, extend two slightly curved lines downwards to form his neck.
Step 5: Draw the Shoulders and Sleeves
Let’s add his clothing. From the sides of the neck, draw sloping lines outwards to create his shoulders. Then, extend lines downwards from the shoulders to form the sleeves of his shirt. Keep the lines simple and slightly curved to represent the fabric.
Step 6: Add Hands, Fingers, and Shirt Details
Now, draw Peter’s hands extending from the sleeves. Keep them large and cartoonish, with simple finger shapes. Below the sleeves, sketch the bottom line of his shirt. Add some curved lines to indicate folds in the fabric, giving his shirt a more natural look.
Step 7: Detail the Collar, Buttons, and Belt
Time for the finer details! Draw a small collar around his neck. Add a vertical line down the center of his shirt for the front placket and draw a few small circles for buttons. Around his waist, sketch a thin rectangle for his belt and add small loops for belt loops. These details will bring his outfit to life.
Step 8: Draw the Torso and Pants
Continue down from the belt to draw Peter’s lower body. Sketch the outlines of his torso and then draw his pants. Make the pants wider at the bottom, giving them a slightly flared shape. This is typical of Peter’s casual style.
Step 9: Finish with the Shoes
Finally, let’s complete the drawing with his shoes. At the bottom of his pants, draw two rounded shapes for his shoes. Keep them simple and slightly chunky to match his overall cartoon style. And with that, you’ve successfully drawn Peter Griffin!
Congratulations! You’ve just learned how to draw Peter Griffin from “Family Guy”! This step-by-step guide makes it easy to recreate this iconic character. Now that you’ve mastered Peter, why not explore drawing other characters from your favorite cartoons? Keep practicing and you’ll be drawing like a pro in no time. Visit our “Cartoons” category for more drawing tutorials and expand your artistic skills!