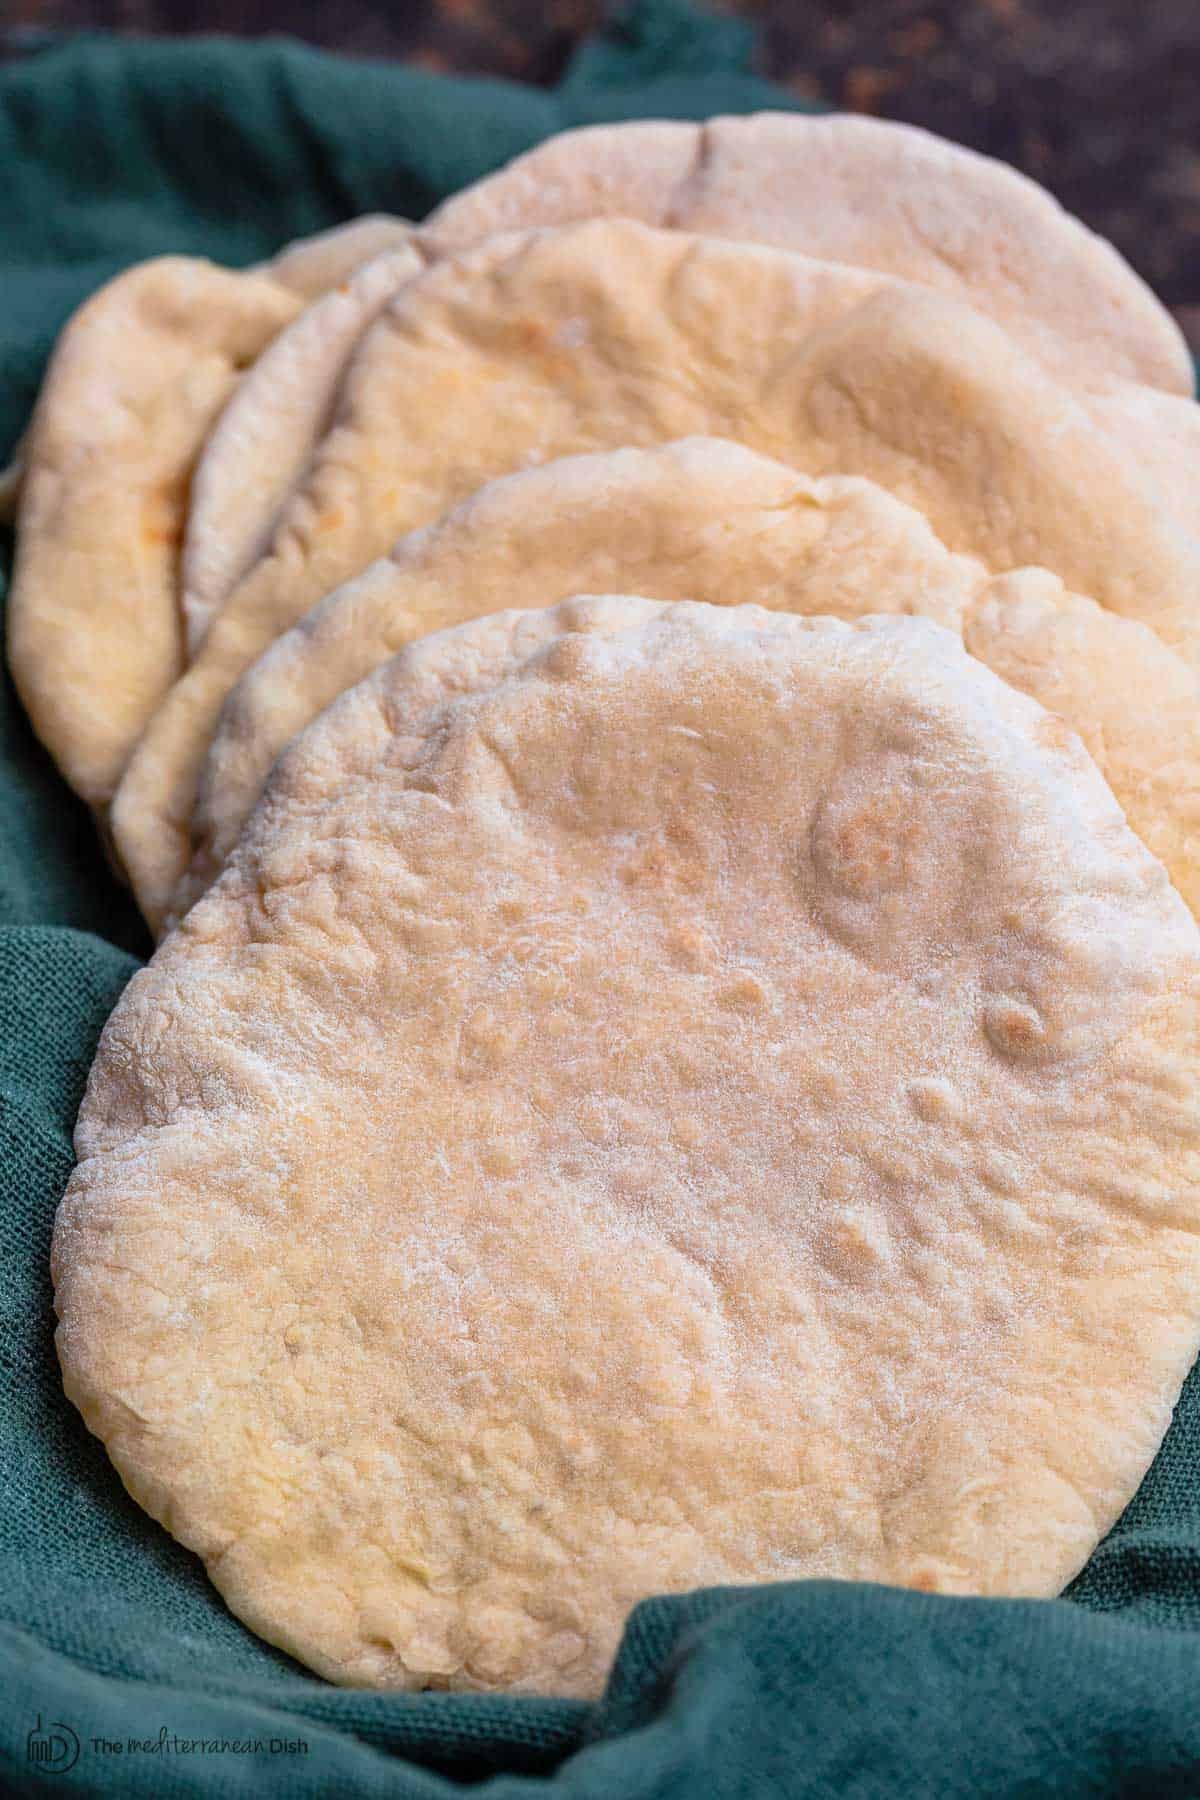
Have you ever craved the warm, fluffy perfection of authentic pita bread, but felt intimidated to make it at home? This easy homemade pita bread recipe will demystify the process and guide you to create perfectly puffy pitas right in your own kitchen. Using just a few simple ingredients you likely already have, you can experience the unmatched taste of fresh, warm pita bread, far superior to anything store-bought. Whether you choose to bake them in the oven or cook them on the stovetop, get ready to enjoy the magic of homemade pita bread!
Why Homemade Pita Bread is a Game Changer
For anyone who appreciates genuine Mediterranean flavors, fresh pita bread is an absolute essential. If you’re used to supermarket pita bread, you’re in for a delightful surprise. Mass-produced pita often lacks the freshness and delicate texture of authentic pita. Think of it like the difference between freshly baked bread from a local bakery and pre-packaged sandwich bread from the grocery store – there’s simply no comparison in taste and aroma.
Growing up in Egypt, where fresh pita bread was a daily staple from neighborhood bakeries, I can attest to the incredible difference. The warm, fragrant, and perfectly puffy pita bread from those bakeries is a far cry from the often dense and dry versions found in typical grocery stores. While store-bought pita can suffice in a pinch if warmed up quickly, it simply cannot replicate the experience of truly fresh pita.
Making pita bread at home is surprisingly straightforward and rewarding. It’s about capturing that authentic taste and texture – the fresh, warm, fragrant, and wonderfully puffy pita bread that elevates any meal. This recipe brings the experience of authentic Mediterranean pita right to your kitchen, using just a handful of pantry staples.
Endless Possibilities with Fresh Pita Bread
Pita bread is more than just bread; it’s a versatile culinary tool that opens up a world of delicious possibilities. From classic Mediterranean and Middle Eastern dishes to creative snacks and sides, homemade pita bread is incredibly adaptable.
Pita pockets are the ideal vessel for iconic dishes like falafel, shawarma, and creamy hummus. Imagine biting into a warm pita filled with crispy falafel, flavorful shawarma, or smooth hummus – the combination is simply irresistible.
Beyond pockets, a basket of warm pita bread is a welcome addition to almost any dinner table. It’s perfect for scooping up hearty soups and stews or soaking up the rich sauce from dishes like Greek meatballs. The soft, absorbent texture of pita makes it ideal for enjoying every last drop of flavorful sauces and broths.
But the versatility doesn’t stop there! Pita bread can be transformed into crispy pita chips for dips or even sweet churro chips for a fun dessert. For a simple and satisfying snack, warm pita bread served with za’atar and extra virgin olive oil for dipping is always a hit, especially with kids.
Simple Ingredients for Authentic Homemade Pita
The beauty of this pita bread recipe lies in its simplicity. You likely already have most, if not all, of the necessary ingredients in your pantry. Here’s what you’ll need to make about 8 delicious pitas:
- Water: Lukewarm water is essential for activating the yeast.
- Yeast: Active dry yeast is the magic ingredient that makes the pita rise and become puffy.
- Sugar: A pinch of sugar helps to feed the yeast and get it started.
- Flour: All-purpose flour is the standard choice, but you can also use a combination of all-purpose and whole wheat flour for a slightly different flavor and texture.
- Salt: Kosher salt enhances the flavor of the pita bread.
- Extra Virgin Olive Oil: A touch of extra virgin olive oil adds richness and flavor to the dough and is also used to coat the bowl for rising.
Step-by-Step Guide to Making Perfect Pita Bread
Making pita bread at home is a rewarding process, and this step-by-step guide will make it easy and enjoyable. No stand mixer is required – in fact, kneading by hand is often preferred for pita dough!
Equipment You’ll Need
- Large Mixing Bowl: A large bowl like this one is perfect for mixing and kneading the dough.
- Wooden Spoon or Stirring Utensil: For initially combining the ingredients.
- Rolling Pin: A rolling pin is essential for shaping the pita bread into thin circles.
Step 1: Make the Sponge (Yeast Starter)
In your large mixing bowl, combine 1 cup of lukewarm water with 2 teaspoons of active dry yeast and ½ teaspoon of sugar. Stir until everything is dissolved. Add ½ cup of all-purpose flour and whisk until smooth. This mixture, called a “sponge,” jumpstarts the yeast activity. Place the bowl in a warm (not hot) place, uncovered, for about 15 minutes. The mixture should become frothy and bubbly, indicating the yeast is active and ready to go.
Tip: If you don’t see any bubbles after 15 minutes, your yeast might be inactive. It’s best to start again with fresh yeast to ensure your pita bread rises properly.
Step 2: Form the Pita Dough
To the frothy sponge mixture, add 1 to 2 teaspoons of kosher salt, 2 tablespoons of extra virgin olive oil, and almost all of the remaining flour (about 2 ½ cups). Reserve about ½ cup of flour for dusting later. Stir everything together until a shaggy mass forms. A “shaggy mass” means the dough is still a bit sticky and uneven, with minimal gluten development at this stage. It will look like a rough, sticky mixture that you can easily pull apart.
Dust the dough lightly with some of the reserved flour and knead it briefly within the bowl for about a minute. This helps to incorporate any loose flour and start bringing the dough together.
Step 3: Knead the Dough
Lightly dust a clean work surface with a bit of flour. Turn the shaggy dough out onto the floured surface and knead it gently for about 2 minutes until it becomes smoother. Cover the dough with the mixing bowl or a clean towel and let it rest for 10 minutes. This resting period allows the gluten to relax, making the dough easier to handle. After resting, knead the dough again for another 2 minutes or so. The final dough should be soft, slightly moist, and smooth. If it’s too sticky, add a little more dusting flour, but be careful not to add too much, as this can make the pita bread tough.
Step 4: Let the Pita Dough Rise
Clean your mixing bowl and lightly coat it with extra virgin olive oil. Place the kneaded dough back into the oiled bowl and turn it a couple of times to coat it evenly with olive oil. This prevents the dough from drying out and sticking to the bowl as it rises. Cover the bowl tightly with plastic wrap, and then cover it again with a kitchen towel. Place the bowl in a warm (not hot) place and let the dough rise for about 1 hour, or until it has doubled in size. The rising time may vary depending on the warmth of your environment.
Step 5: Divide the Dough
Once the dough has doubled, gently deflate it by punching it down lightly. Transfer the dough to a clean work surface. Divide the dough into 7 to 8 equal pieces. Shape each piece into a smooth ball. Cover the dough balls with a towel and let them rest for 10 minutes. This rest period makes them easier to roll out into pitas.
Step 6: Shape the Pitas
Using a floured rolling pin, roll one dough ball into a circle that is about 8-9 inches wide and ¼ inch thick. As you roll, lift and turn the dough frequently to prevent it from sticking to your work surface. If the dough starts to stick, sprinkle a tiny amount of flour underneath. If the dough springs back and resists rolling, let it rest for a few minutes before continuing. Repeat this process with the remaining dough balls.
Tip: Once you get comfortable with the process, you can start cooking one pita while you are rolling out the next to speed things up.
Step 7: Cook the Pitas – Oven or Stovetop Methods
You have two excellent options for cooking your pita bread: baking in the oven or cooking on the stovetop. Both methods yield delicious results.
Oven Baking Method
- Preheat Oven and Baking Sheet: Preheat your oven to 475°F (245°C). Place a heavy-duty baking sheet or a large cast iron skillet on the middle rack of the oven to preheat as well. This hot surface is crucial for achieving puffy pitas.
- Bake Pitas: Working in batches, carefully place the rolled-out pitas directly onto the hot baking sheet. Depending on the size of your baking sheet, you may be able to fit 2-3 pitas at a time.
- Bake Time: Bake for 2 minutes on one side, then use tongs to quickly flip the pita and bake for another 1 minute on the other side. The pita should puff up dramatically during baking.
- Keep Warm: Remove the baked pitas from the oven and immediately wrap them in a clean kitchen towel to keep them soft and warm while you bake the remaining pitas.
Stovetop Cooking Method
- Heat Skillet: Heat a cast iron skillet over medium-high heat. To check if the skillet is hot enough, sprinkle a few drops of water onto the surface – they should sizzle immediately and evaporate quickly.
- Cook Pitas: Lightly drizzle a tiny bit of extra virgin olive oil into the hot skillet and wipe off any excess with a paper towel. Working with one pita at a time, place a rolled-out pita in the hot skillet. Cook for about 30 seconds, until small bubbles start to form on the surface.
- Flip and Cook: Flip the pita using a spatula and cook for 1-2 minutes on the other side, until light golden-brown toasted spots appear on the underside. Flip again and cook for another 1-2 minutes to toast the other side. The pita should puff up to form a pocket during this process.
- Keep Warm: As with the oven method, keep the cooked pitas wrapped in a clean kitchen towel to maintain their warmth and softness.
Tip for Stovetop Puffing: Sometimes, pita cooked on the stovetop may not puff up as much as oven-baked pita, or may only form a small pocket. If this happens, try gently pressing down on the surface of the pita with a clean towel while it’s cooking. This can sometimes encourage it to puff.
Make-Ahead and Storage Tips for Homemade Pita
Freshly baked pita bread is best enjoyed warm, straight from the oven or skillet. However, this recipe is also incredibly convenient for make-ahead preparation and storage.
Prepare Dough Ahead: You can prepare the pita dough in advance and store it in the refrigerator after it has risen. Once the dough has doubled in size, gently deflate it, place it in an airtight container or zip-top bag, and refrigerate for up to a week. When you’re ready to bake, simply remove the dough from the fridge and let it come to room temperature for about 30-60 minutes before proceeding with Step 5 (dividing the dough).
Freezing Baked Pita: Baked pita bread freezes beautifully. To freeze pita bread:
- Cool Completely: Allow the pita bread to cool completely after baking.
- Freeze in Bags: Store the cooled pitas in zip-top freezer bags, pressing out as much air as possible. For easy separation, layer sheets of wax paper between the pitas.
- Freeze Time: Freeze for up to 3 months.
- Reheat from Frozen: To reheat frozen pita bread, there’s no need to thaw it. Simply warm it in a medium-heated oven or toaster oven until heated through and softened.
Gluten-Free Pita Bread Option
For those who need or prefer gluten-free options, you can easily adapt this recipe to make gluten-free pita bread. Simply substitute the all-purpose flour with an equal amount of all-purpose gluten-free flour blend. Bob’s Red Mill Gluten Free All-Purpose Baking Flour or Bob’s Red Mill 1-to-1 Gluten Free Baking Flour are excellent choices that work well in this recipe.
Troubleshooting: Why Isn’t My Pita Puffing?
Getting that signature pita puff is part of the fun! While even flat pitas are delicious, a good puff creates the pocket we love for fillings. If your pita isn’t puffing, the most common culprit is insufficient heat. Ensure your oven or skillet is thoroughly preheated to the correct temperature before cooking the pitas. A hot cooking surface is essential for the rapid steam creation that causes the pita to puff.
Enjoy Your Homemade Pita Bread!
Making pita bread at home is a truly rewarding experience. With this easy recipe and these helpful tips, you can create warm, fluffy, and authentic pita bread that will elevate your meals and impress your family and friends. Experiment with different fillings, dips, and dishes to fully appreciate the versatility of homemade pita bread. Enjoy!
For more delicious bread recipes, explore our collection of bread and cake recipes here. And for a wide range of Mediterranean recipes, visit us here.